Most haircare content is about shine. Glossy finishes, glass-hair aesthetics, mirror-smooth ends. Shine is easy to fake — a silicone coating will do it in seconds. Actual damage reduction is a different conversation, and almost nobody is having it honestly.
After testing dozens of products and reading through the research on hair structure, here's the routine that holds up — not because it looks good on camera, but because it addresses the actual mechanisms of hair damage: friction, protein loss, moisture imbalance, and heat stress.
Step 1
Clarify — Once a Week
Before anything else works, your hair has to be clean. Not just shampoo-clean — clarified. Most people have weeks of silicone, mineral oil, and product buildup sitting on their strands. That buildup blocks moisture, makes hair feel heavy, and causes the "my hair stopped responding to products" problem.
Use a clarifying shampoo once a week, or every two weeks if your hair is very dry. Not every wash. Just enough to reset.
Why it matters: Buildup from silicone-heavy products (like most viral hair oils) creates a barrier that prevents moisture and protein treatments from penetrating the hair shaft. You can't treat hair you can't reach.
Step 2
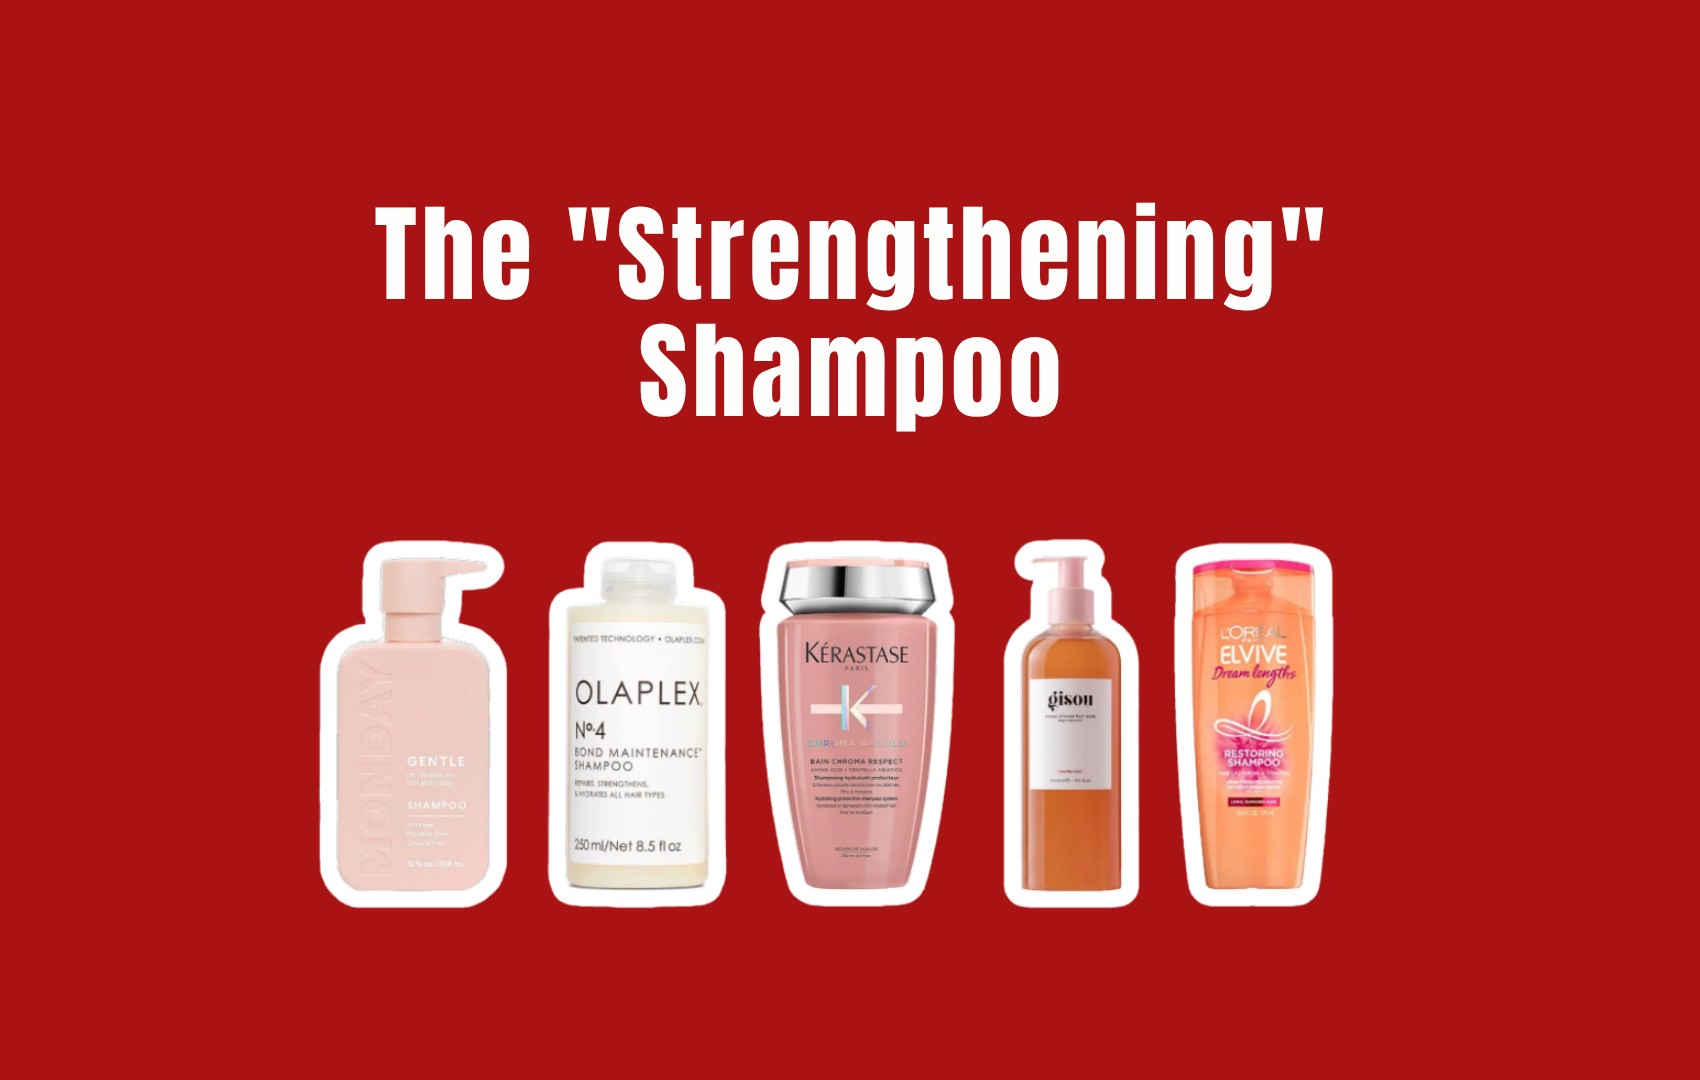
Shampoo the Scalp — Not the Lengths
Apply shampoo only to your scalp and roots. Work it in with your fingertips — not your nails — using small circular motions. When you rinse, the suds running down your lengths are enough to clean them without stripping.
Scrubbing shampoo through your mid-lengths and ends is one of the most common causes of mechanical damage. The cuticle is already open when wet. Friction tears it.
Why it matters: The scalp produces oil. The ends don't. Shampooing the full length strips the ends of what little moisture they have, leading to dryness and breakage over time.
Step 3
Condition Mid-Lengths to Ends Only
Apply conditioner from your ears down. Never on the scalp — it weighs roots down and can clog follicles. Use a wide-tooth comb to distribute it evenly while it's in, then leave it for at least two minutes before rinsing.
Cold or cool water for the final rinse. It closes the cuticle, which is what actually creates shine — not a silicone coating.
Why it matters: Conditioner works by temporarily filling gaps in the cuticle with moisturizing agents. It needs time and even distribution to do that. A 10-second rinse-through does almost nothing.
Step 4
Weekly Treatment — Protein or Moisture, Not Both
Once a week, add either a protein treatment or a deep moisture mask — not both at the same time. Hair needs a balance of protein and moisture. Too much protein makes hair brittle and snappy. Too much moisture makes it limp and weak.
If your hair feels mushy, stretchy, or won't hold a style: you need protein. If it feels dry, rough, or snaps without stretching: you need moisture. Alternate based on what your hair is telling you.
Why it matters: Hair is roughly 95% keratin protein. Chemical processing, heat, and UV exposure degrade that protein structure. Targeted treatments address the actual structural damage, not just the surface appearance.
Step 5
Dry Gently — Microfiber or a Cotton T-Shirt
Put down the regular towel. Terry cloth is too rough for wet hair — the looped fibers catch on the cuticle and cause frizz and breakage. Squeeze water out gently with a microfiber towel or an old cotton t-shirt. No rubbing.
Wet hair is at its most vulnerable. The hydrogen bonds that give hair its structure are temporarily broken when wet, making it elastic and easy to damage.
Why it matters: Mechanical damage from rough drying is cumulative. It doesn't show up immediately — it shows up six months later as split ends and breakage that seem to come from nowhere.

The damp-hair window is when your strands can actually absorb moisture — not after they've dried.
Step 6
Leave-In While Hair Is Still Damp
Apply a leave-in conditioner or detangling spray while your hair is still about 70% wet. This is the window when your hair can actually absorb moisture — once it's dry, the cuticle closes and most products just sit on the surface.
Work it through with your fingers or a wide-tooth comb, starting from the ends and working up. Never brush wet hair from root to tip.
Why it matters: Leave-ins seal in the moisture from your wash routine and provide slip for detangling — which is another major source of mechanical damage if done dry or without product.
Step 7
Heat Protectant Before Any Heat Tool — Every Time
If you're using a blow dryer, flat iron, or curling wand: heat protectant is not optional. Apply it to damp hair before blow drying, or to dry hair before direct heat tools. Make sure it's fully dry before the iron touches it — wet hair under a flat iron causes steam damage inside the shaft.
Look for ingredients like hydrolyzed wheat protein, dimethicone (here it's actually useful), or cyclopentasiloxane in a heat protectant — these form a barrier that slows heat transfer to the cortex.
Why it matters: Heat above 230°C (446°F) permanently alters the keratin structure of hair. Most flat irons go that high. A heat protectant doesn't make heat safe. It reduces the damage. The lower your heat setting, the less damage regardless of protectant.

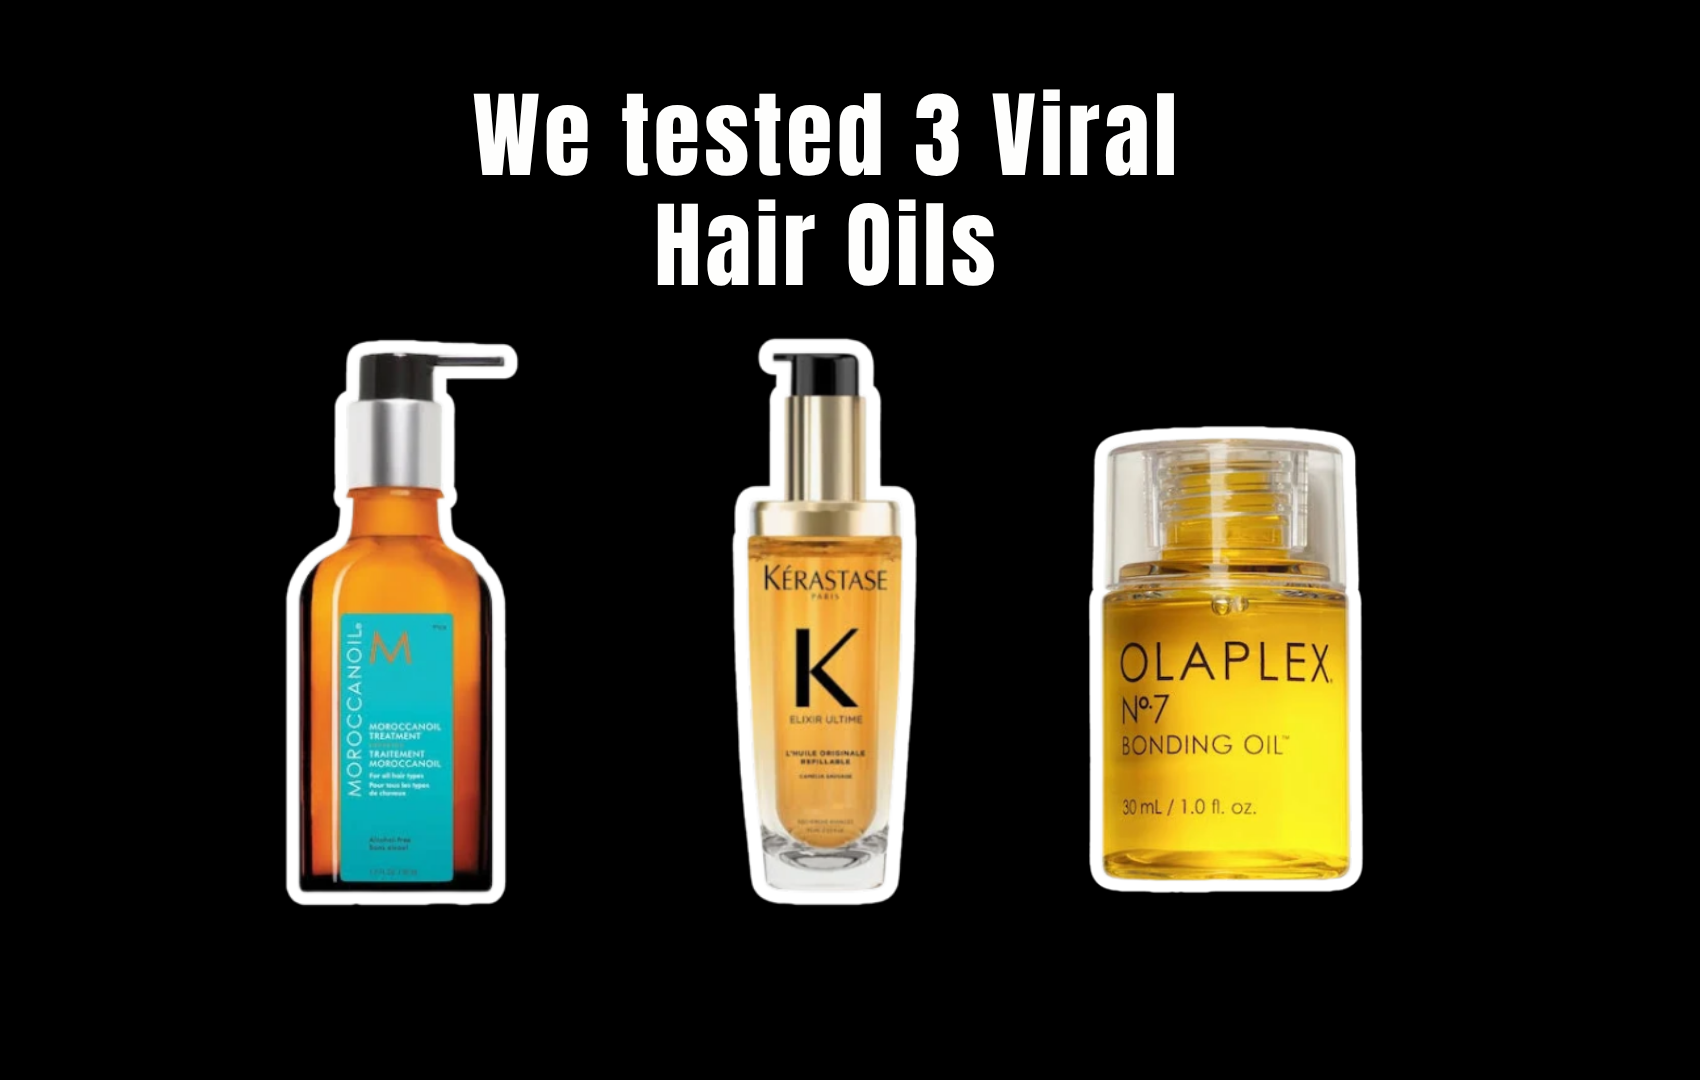
Real oils like argan and jojoba can partially penetrate the hair shaft. Silicones only coat it.
Step 8
Finish with a Lightweight Oil — Silicone-Free
Once your hair is styled and dry, a small amount of a real oil — argan, jojoba, squalane, or marula — applied to the ends seals the cuticle and adds genuine nourishment. These oils can partially penetrate the hair shaft. Silicones cannot.
The key word is small. One or two drops for fine hair. Three to four for thick or coarse hair. Emulsify it between your palms first, then smooth over the ends only.
Why it matters: This is where most viral hair oils fail — they're silicone-dominant, which means they coat rather than nourish. A real oil at this step actually does what the marketing on those products promises.
What This Routine Is Actually Doing
Every step above targets a specific damage mechanism: buildup removal, friction reduction, protein-moisture balance, cuticle protection, and heat management. None of it is complicated. Most of it is free or cheap. The expensive part of haircare is usually the marketing — not the chemistry.
The products that dominate social media are optimized for immediate visual results: shine, smoothness, that glass-hair look on camera. Those results are real. They're just temporary, surface-level, and in some cases actively working against your hair's long-term condition.
Damage reduction is slower and less photogenic. But it's the only thing that actually changes what your hair looks like in a year.